
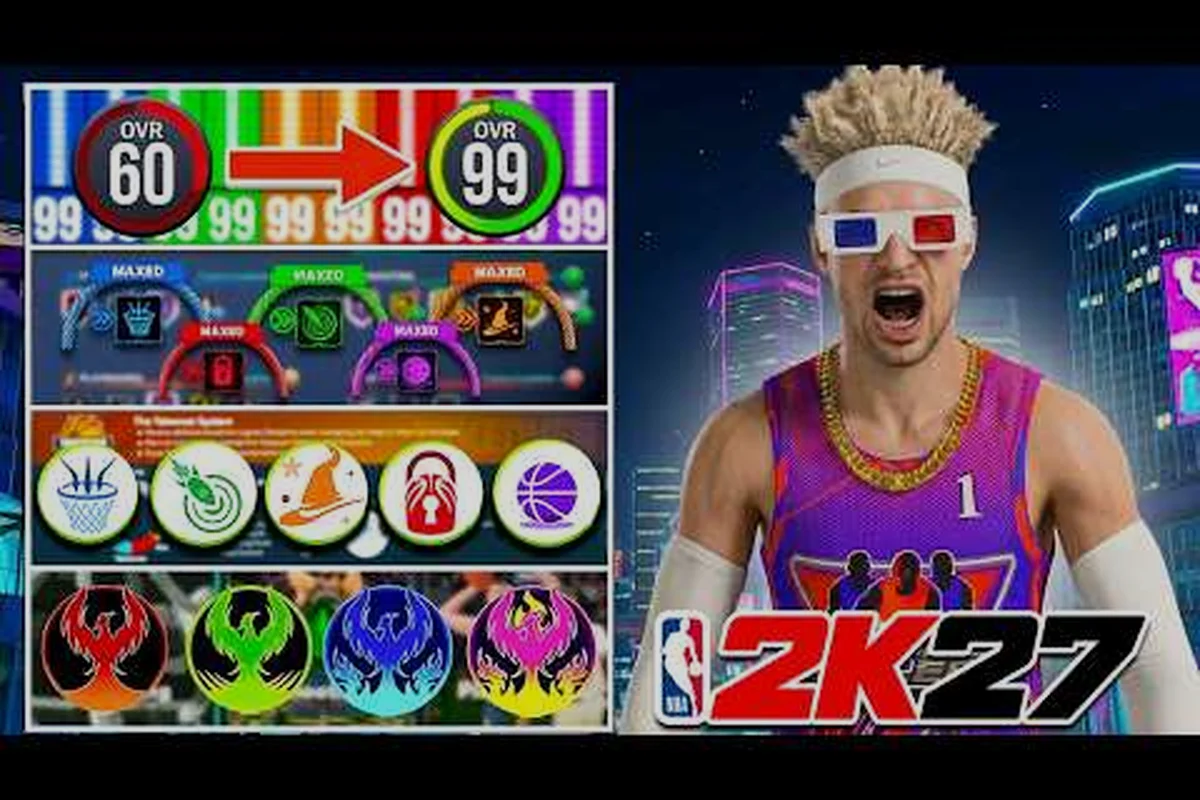
Every NBA 2K27 build starts with a promise—those sliders you tweak before stepping onto the court will either unlock god-like capabilities or leave you grinding for nothing. Understanding how attribute caps interact with your position, playstyle, and game mode separates players who dominate from those who get burned by their own choices. The difference between a 99 overall that dominates and one that gets hunted on defense comes down to knowing exactly where to stop spending and where to push to the limit. This guide breaks down every cap, every build type, and every cheap VC route to help you reach your NBA 2K27 build max potential without wasting a single Virtual Currency point. Each build type operates within strict boundaries—and the best lockdown defender build shows exactly how to push defensive stats to their limits while staying VC-efficient. While this focuses on lockdown defenders, the approach demonstrates principles that apply across all recommended build paths for maximizing efficiency.
Understanding Attribute Caps and Badge Thresholds
Attribute caps in NBA 2K27 operate on a tiered system where certain thresholds unlock additional benefits beyond raw stat boosts. Most attributes cap at 85 for bronze badge ranges, 89 for silver, 92 for gold, 95 for hall of fame, and 99 for pure maximum output. The critical insight most players miss is that reaching exactly 95 often provides the same badge activation as pushing to 99, making 95 the efficient choice for badge-focused builds. When you're planning your NBA 2K27 build max potential strategy, always check which threshold matters for your intended badges before maxing any attribute.
Beyond basic stat caps, vertical leap and speed stats follow different scaling curves that make small investments feel larger at lower levels. A player with 80 speed feels noticeably slower than someone at 85, but the gap between 90 and 95 speed is nearly imperceptible during actual gameplay. Community testing confirms this perception gap, meaning you should prioritize reaching 85-86 speed as your baseline before allocating those final few points elsewhere. This knowledge directly impacts how you distribute attributes across your build's core ratings.
Badge compatibility zones exist where two related attributes must both meet minimum thresholds to unlock certain badge combinations. For example, a sharpshooter build might need both 93 three-point shot and 80 mid-range to access the specific badge loadout that makes them truly dangerous. Understanding these compatibility zones prevents the common mistake of maxing one stat while leaving its partner attribute just below the activation threshold. Use this framework when planning any build that chases specific badge activations.
| Attribute Tier | Rating Range | Badge Activation | Efficiency Rating |
|---|---|---|---|
| Bronze Cap | 80-84 | Basic Badges | Low Investment |
| Silver Cap | 85-88 | Standard Badges | Medium Investment |
| Gold Cap | 89-92 | Advanced Badges | High Investment |
| HOF Cap | 93-95 | Elite Badges | Optimal Efficiency |
| Max Cap | 96-99 | Same as HOF +1 Stat | Overkill |
Best Park Builds for Maximum Playground Potential
The playground demands versatility, explosiveness, and the ability to score from multiple positions when defenders collapse on your primary weapon. The two-way slasher archetype hits NBA 2K27 best park builds status because it combines 90+ driving dunk with 85+ perimeter defense, allowing you to finish through contact while staying on the floor during late-game defensive possessions. This build thrives in three-on-three where one defensive lapse costs your team significantly.
Height selection for park builds requires balancing finishing ability against speed and lateral quickness penalties. A 6'6" slashing playmaker offers the best middle ground, maintaining 85+ speed while reaching 92+ driving dunk and 88+ ball handle without triggering the heavy acceleration drops that plague builds over 6'8". The 6'4" option sacrifices finishing height for better steal potential, making it ideal for players who want to gambled on defense and trigger fast breaks. According to community reports, the 6'6" sweet spot dominates park courts at nearly every skill bracket.
Weight distribution affects how your build absorbs contact and finishes through help defense. Builds under 200 pounds struggle to finish over length in the paint, while those over 220 begin sacrificing the first step acceleration needed to beat shot blockers to their spot. The optimal range sits between 205-215 pounds for slashing builds, giving you enough mass to power through contests without losing the burst needed to create separation. This weight window consistently appears in high-ranked park players' profiles.
Wing lockdown builds deserve mention as park counters to the slash-heavy meta. With 80+ lateral quickness, 85+ steal, and 75+ three-point shot, these builds force opponents into uncomfortable shots while providing secondary playmaking on the offensive end. The key to maximizing this build's potential lies in reaching 90+ perimeter defense without sacrificing the shooting rating needed to keep defenders honest. Many players overlook this archetype, making it an underrated pick for solo queue park sessions.
| Park Build Type | Optimal Height | Key Attributes | Playstyle Fit |
|---|---|---|---|
| Two-Way Slasher | 6'4" - 6'6" | 92+ Driving Dunk, 85+ Speed | Aggressive Finisher |
| Lockdown Wing | 6'6" - 6'8" | 90+ Perimeter Defense, 80+ Steal | Defensive Stopper |
| Shot Creator | 6'3" - 6'5" | 88+ Mid-Range, 86+ Ball Handle | Isolation Specialist |
| Stretch Big | 6'10" - 7'0" | 82+ Three-Point, 80+ Post Move | Floor Spacing |
Best REC Builds for Maximum Team Efficiency
The Rec Center rewards builds that complement randoms and execute specific roles without requiring extensive communication. The primary initiator archetype dominates REC because it handles playmaking duties while maintaining enough shooting threat to prevent double teams. A 6'3" to 6'5" point guard build with 90+ ball handle, 85+ speed, and 80+ three-point shot creates the spacing needed for slashers to operate while keeping the offense flowing when the paint collapses. This build type consistently appears in winning REC lineups across all skill levels.
Position-specific builds for the center role in REC require careful attribute distribution to avoid being a liability on either end. A rim protector with 92+ block, 88+ interior defense, and 75+ offensive rebound gives your team a presence at the basket without requiring touches on offense. The key attribute to maximize for this role is vertical, which directly impacts block timing and contest success rates. Community feedback suggests that 94+ vertical combined with 90+ block creates a defensive anchor that changes shots even from behind.
Forward positions in REC demand two-way capabilities since you'll frequently switch onto guards in the modern defensive scheme. A point forward build at 6'7" offers 86+ playmaking, 82+ three-point shot, and 80+ perimeter defense, allowing you to initiate offense while not becoming a target when guards ISO against you. This build maximizes NBA 2K27 best REC builds potential by filling multiple gaps in randoms lineups while maintaining positional versatility.
The floor spacing big has emerged as an essential REC build following patch updates that improved post defense effectiveness. By pushing your three-point shot to 85+ while maintaining 75+ post moves, you force opposing bigs away from the basket, opening driving lanes for guards and preventing second-chance points from post entries. This build works exceptionally well with aggressive slashers who need interior space to operate effectively.
| REC Position | Build Archetype | Core Attributes | Badge Priority |
|---|---|---|---|
| Point Guard | Primary Initiator | 90+ Ball Handle, 85+ Speed, 80+ Three-Point | Floor General, Quick First Step |
| Shooting Guard | Two-Way Sharpshooter | 86+ Three-Point, 82+ Mid-Range, 80+ Perimeter | Catch and Shoot, HOF Clutch Closer |
| Small Forward | Point Forward | 86+ Playmaking, 82+ Three-Point, 80+ Perimeter | Relay Spoiler, Dimer |
| Power Forward | Two-Way Stretch | 84+ Three-Point, 84+ Mid-Range, 82+ Interior | Floor Spacer, Brick Wall |
| Center | Rim Protector | 92+ Block, 88+ Interior, 75+ Vertical | Anchor, Rebounding chaser |
Best ProAM Builds for Championship-Level Competition
ProAM demands builds that execute game plans under coordinated pressure, making role-specific archetypes more valuable than versatility-focused builds. The stretch four with playmaking has become the meta-defining ProAM build because it spaces the floor, handles defensive switches, and provides secondary ball movement without clogging the paint for slashers. This build typically sits at 6'9" with 84+ three-point shot, 78+ playmaking, and 82+ perimeter defense, covering multiple defensive assignments while maintaining offensive gravity.
Team composition strategy in ProAM revolves around creating matchup problems rather than simply stacking the best individual builds. A non-shooting slasher might dominate park games but becomes a liability when five coordinated defenders collapse the paint and dare you to shoot. The most successful ProAM teams feature at least three players with 78+ three-point shooting to prevent defensive rotations and keep help defenders honest. This spacing requirement should heavily influence how you allocate attributes across your build.
Defensive anchoring requires a dedicated rim protector build with maximum interior defense and block ratings, sacrificing offensive capabilities for paint denial. ProAM teams playing against coordinated offenses need this build type to prevent easy baskets when guards drive and kick. The optimal configuration reaches 95+ block, 90+ interior defense, and 82+ strength, accepting 60-65 three-point shooting as a necessary tradeoff for paint protection. This build type appears in nearly every championship-caliber ProAM roster.
Isolation specialists retain value in ProAM as clutch options who can create shots when the offense breaks down. These builds require 92+ mid-range shooting, 88+ ball handle, and 80+ free throw to score efficiently in late-clock situations. The key to maximizing this archetype's potential lies in reaching badge thresholds that activate clutch animations and shot-making bonuses during high-pressure possessions.
| ProAM Role | Build Configuration | Defensive Assignment | Offensive Function |
|---|---|---|---|
| Primary Handler | 6'4", 90+ Ball Handle, 82+ Three-Point | Guard Switches | Pick and Roll Initiator |
| Floor Spacing Big | 6'10", 85+ Three-Point, 75+ Post Move | Interior Protection | Corner Spacing |
| Two-Way Wing | 6'6", 86+ Perimeter, 80+ Three-Point | Best Opponent Scorer | Off-Ball Cutter |
| Rim Anchor | 6'11", 94+ Block, 88+ Interior | Paint Protection | Dump-Off Target |
| Clutch Scorer | 6'5", 92+ Mid-Range, 80+ Free Throw | Guard Containment | Isolation Option |
Cheap VC Build Routes That Still Hit Hall of Fame
Reaching Hall of Fame badge activation without spending real money requires strategic attribute allocation and understanding which stats provide the best return on VC investment. The minimum viable threshold approach places exactly enough points to hit 95 in critical attributes, leaving remaining allocation for secondary stats that provide defensive versatility without breaking the bank. This method typically saves 15-20% of total VC compared to pushing every stat to 99.
Position-agnostic builds maximize cheap VC efficiency because they require fewer attribute points to reach competitive thresholds. A 2-way slasher at 6'5" needs approximately 65 attribute points distributed across driving dunk, speed, strength, and perimeter defense to reach effective gameplay ratings. Pushing for 99 in any single category wastes points that could provide more cumulative benefit across multiple defensive stats. The principle of marginal returns applies heavily to cheap VC build planning.
The no-VC build guide approach focuses on maximizing starter attributes and using early-game progression to reach thresholds naturally. Starting with an 80 overall and grinding through MyCareer matches and daily challenges provides steady attribute gains without purchasing VC bundles. Players report reaching 85-88 overall within the first two weeks of consistent play using this method, with full badge access available around the 90-92 overall mark. This route requires patience but eliminates financial barriers entirely.
Badge grinding efficiency matters more than raw attribute spending when working with limited VC budgets. Bronze badges activate at lower thresholds and provide immediate gameplay benefits, making them better investments than pushing for gold or HOF badges on secondary stats. Focus your VC allocation on the two or three badge types most critical to your playstyle, and accept that lower-tier badges on off-stats represent acceptable tradeoffs for budget builds.
| VC Strategy | Attribute Focus | Badge Priority | Time Investment |
|---|---|---|---|
| Premium Quick | Max 3 Core Stats to 99 | HOF Primary, Gold Secondary | 2-3 Weeks |
| Budget Efficient | 4-5 Stats to 95 | Gold Primary, Silver Secondary | 4-6 Weeks |
| No-VC Grinder | Starter + Challenge Gains | Silver Primary, Bronze Secondary | 6-8 Weeks |
| Hybrid Balanced | 2 Stats 95, 3 Stats 85 | HOF One Stat, Gold Others | 3-4 Weeks |
No-VC Build Optimization and Progression Paths
Building competitive characters without purchasing VC requires understanding the attribute gain mechanics available through gameplay progression. Ankle breaker and catch and shoot badges represent the highest-value early-game acquisitions because they activate at lower thresholds and dramatically improve your build's effectiveness during the grinding phase. Prioritizing these badge categories while avoiding expensive upgrades to stats you rarely use creates an efficient progression curve.
MyCareer gameplay loops provide substantial VC and attribute gains when approached strategically. Simulating home games after building a lead maximizes your VC-per-hour ratio, while playing full games during high-difficulty moments accelerates overall progression. The key insight is that association mode offers 1.5x VC multipliers compared to standard MyCareer games, making it the most efficient grinding environment for no-VC builds.
Skill grid optimization becomes critical when every attribute point matters. The skill grid allows +4 to +8 bonuses to specific attributes without consuming your main attribute budget, effectively giving you 2-3 additional attribute levels worth of stats at no VC cost. Mapping your skill grid bonuses to your build's core stats creates synergistic effects that multiply the value of your limited attribute budget. Most competitive no-VC builds utilize skill grid bonuses on speed, acceleration, and their primary scoring attribute.
Seasonal events and limited-time challenges offer accelerated progression windows that no-VC players should prioritize. The Triple Threat game mode provides the highest VC-per-minute ratio for casual grinding sessions, while MyPark events occasionally award bonus attribute upgrades that don't consume your VC budget. Community resources track these events, and planning your grinding sessions around bonus periods significantly reduces the time required to reach competitive overalls.
Height, Weight, and Position Combination Strategies
Height dramatically impacts multiple attribute caps and gameplay physics in NBA 2K27, making it the most consequential decision in build creation. Each inch above the position baseline imposes speed penalties while providing finishing and rebounding bonuses. The sweet spot philosophy identifies the height where these tradeoffs balance optimally, typically 2-3 inches above the position minimum. For guards, this means 6'3" to 6'5" provides the best balance between speed retention and scoring capability.
Weight interacts with height to determine your build's physical presence and mobility characteristics. Heavy builds (220+) dominate the post but struggle against quick defenders, while light builds (190-) excel in transition but get bullied by physical opponents. The athletic middle ground between 200-215 pounds provides adequate finishing strength without triggering the acceleration penalties that plague heavier configurations. This range works across most build types and represents the safest weight selection for general-purpose optimization.
Position assignment affects your attribute caps and available badge pools, making it critical to align your intended role with your chosen position. A point guard build receives lower driving dunk caps but higher ball handle and speed baselines, while a center build sacrifices three-point potential for interior scoring and rebounding advantages. Selecting the position that matches your preferred playstyle prevents attribute waste on stats that won't activate due to position-based caps.
Attribute distribution matrices help visualize the relationship between position, height, and key stat thresholds. Building a spreadsheet or using community-created tools to map your attribute priorities against position caps reveals optimization opportunities that aren't obvious during the build creation screen. Most players discover they can either reduce their overall cost or increase their effective stats by 3-5 points through careful position and height adjustment.
Frequently Asked Questions: Reaching Maximum Build Potential in NBA 2K27
What is the most efficient way to reach Hall of Fame badges without spending real money?
Focus on hitting exactly 95 in your primary stats rather than pushing to 99, since both thresholds unlock the same badge tiers. Use skill grid bonuses to add 4-8 points to core stats, and prioritize bronze and silver badges that activate at lower ratings during your grinding phase. Community players report reaching competitive HOF badge counts within 4-6 weeks through consistent MyCareer grinding and seasonal event participation.
How much does height affect speed and acceleration in NBA 2K27 builds?
Every inch of height above your position's baseline imposes approximately 2-3 point penalties to speed and acceleration attributes. A 6'8" guard will naturally feel slower than a 6'4" guard at identical speed ratings due to these hidden penalties. Staying within 2-3 inches of position minimums preserves your mobility while providing adequate size advantages for finishing and defending.
Which game mode requires the most specialized build optimization?
ProAM demands the strictest build specialization because coordinated teams exploit any weakness in your attribute distribution. Park and REC allow more flexibility since random teammates cover positional gaps, but ProAM requires dedicated rim protectors, floor spacers, and shot creators who execute specific roles without requiring communication. Choose your build type based on the game mode you plan to play most.
What weight provides the best balance between finishing strength and mobility?
Weights between 205-215 pounds consistently provide the optimal balance for most perimeter builds, offering enough mass to finish through contact without triggering significant speed or acceleration penalties. Heavy builds over 220 pounds should only be considered for centers and power forwards who don't rely on first-step explosiveness, while light builds under 200 pounds excel only in transition-focused playstyles.
Can you reach competitive overall ratings using only the no-VC build approach?
Yes, consistent players reach 88-92 overall within the first month using the no-VC grinding method, with full competitive capability arriving around the 90-93 overall mark. The key is prioritizing high-value badge types like Catch and Shoot and Ankle Breaker during early progression while accepting slower attribute gains on secondary stats. The NBA 2K27 official resources detail current progression rates and seasonal events that accelerate attribute gains.