
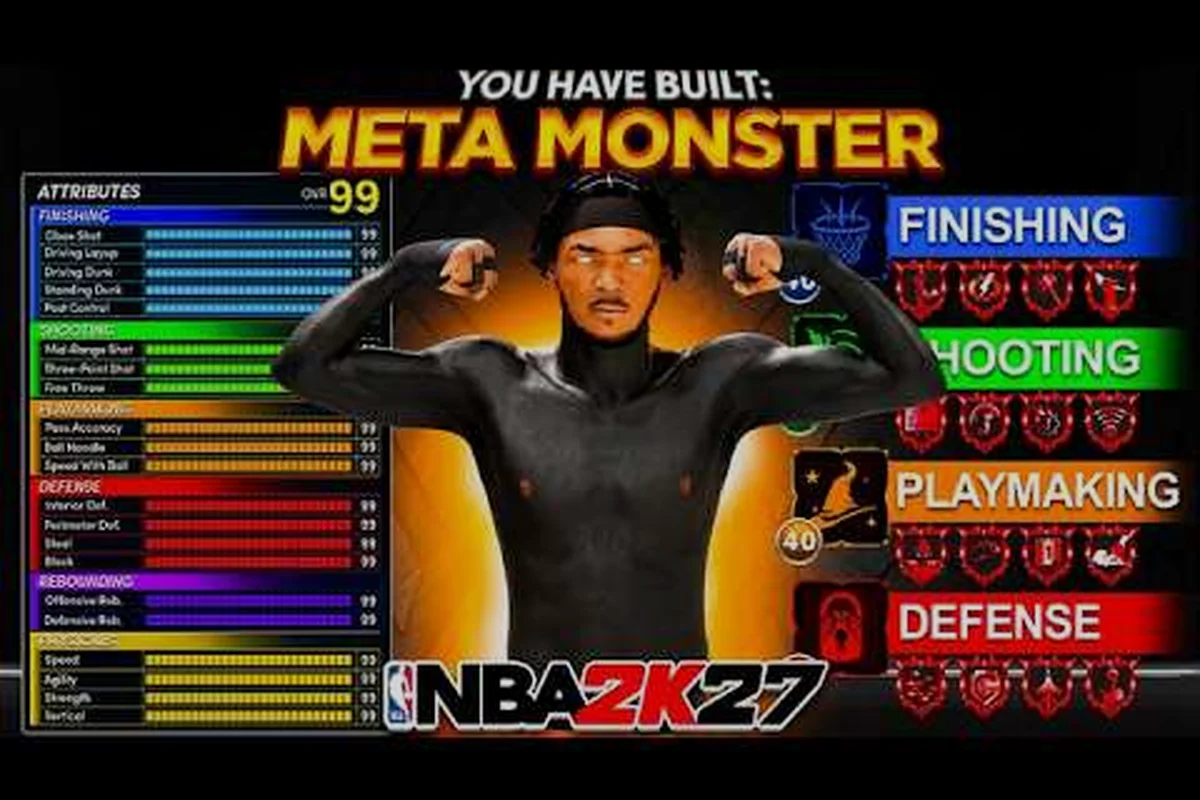
When you step onto the virtual hardwood in NBA 2K27, nothing frustrates an opponent more than a defender who simply will not yield. The NBA 2K27 best perimeter lock build gives you the tools to become exactly that player, a defensive specialist who makes elite guards work for every inch and forces rushed shots when the shot clock winds down. This archetype specializes in on-ball pressure, steals, and disrupting the rhythm of ball handlers in isolation and pick-and-roll situations. Whether you run REC, ProAm, or park games, locking down the opposition's primary scorer creates momentum shifts that win championships. This guide breaks down every detail from physical attributes to badge selections, gameplay tactics, and common mistakes that separate average defenders from genuinely elite perimeter locks.
According to the official page, the recommended attribute split for a perimeter lock build prioritizes 80% defensive stats (steal, block, lateral quickness) and 20% scoring attributes to maximize defensive impact.
Why Choose the Perimeter Lock Build in NBA 2K27
The perimeter lock build serves a distinct role that becomes invaluable in team-based game modes where coordinated defense determines victories. Guards like Ja Morant, Shai Gilgeous-Alexander, and Donovan Mitchell dominate NBA 2K27 online play, making dedicated perimeter defense essential for competitive success. A well-constructed perimeter lock shadows these elite ball handlers for entire possessions, forcing them to give up the ball or settle for contested attempts that clang off the rim. This build rewards patience, positioning, and basketball IQ over raw athleticism, making it accessible to players who study offensive tendencies and anticipate drives or passes before they happen. Community reports consistently rank lockdown defenders among the most valuable teammates in REC lobbies, because they free up other players to focus on their offensive assignments without worrying about the opponent's best scorer. If you want to control games through defense rather than chasing highlight-reel plays, this build delivers consistent impact that translates across every game mode.
Optimal Physical Attributes for the Perimeter Lock Build
Physical configuration dramatically affects how effectively your perimeter lock performs against different opponent archetypes. Wingspan stands as the single most important physical attribute for this build, directly extending your steal radius, block reach, and shot contest effectiveness against shooters and drivers alike. Most experienced players recommend targeting the maximum available wingspan regardless of height, because the defensive advantages compound throughout every possession. Height selection requires balancing guard speed against defensive reach, with 6'5" emerging as the most popular choice among top players because it maintains enough quickness to stay in front of explosive point guards while providing enough length to contest mid-range and three-point shots effectively.
Recommended Height and Weight Configuration
| Height | Weight | Speed | Acceleration | Strength | Best For |
|---|---|---|---|---|---|
| 6'4" | 185 lbs | 87 | 85 | 62 | Maximum quickness, pure point guard chase |
| 6'5" | 195 lbs | 84 | 82 | 68 | Balanced speed and reach, recommended |
| 6'6" | 205 lbs | 81 | 79 | 74 | Bigger guards, small forwards |
| 6'7"+ | 215+ lbs | 77 | 75 | 80 | Physical matchups, post defense |
The weight range of 190 to 210 pounds provides enough mass to absorb contact from drivers without sacrificing the lateral quickness that makes perimeter locks effective. Lighter builds around 185 pounds struggle against physical shooting guards who use body contact to create separation, while heavier configurations above 215 pounds begin losing their ability to contain shifty point guards who rely on speed and change of direction rather than power.
Wingspan Impact on Defensive Ratings
| Wingspan | Steal Range | Block Reach | Contest Effectiveness | Lateral Quickness |
|---|---|---|---|---|
| Standard | Base | Base | Base | Full rating |
| +3 inches | +5 rating | +8 rating | +4 rating | -2 rating |
| +5 inches | +8 rating | +12 rating | +6 rating | -4 rating |
| Maximum | +12 rating | +18 rating | +9 rating | -6 rating |
Longer wingspans create a meaningful tradeoff between defensive reach and foot speed, which is why finding your personal balance point matters based on your playstyle and the opponents you face most often. For players who primarily guard point guards and shooting guards, slightly shorter wingspans preserve the speed necessary to stay attached through hesitation moves and crossovers. Those who match up against larger wings and small forwards benefit from maximum wingspan despite the minor speed reduction, because the extra reach matters more in those physical matchups. You can experiment with different combinations using our NBA 2K27 beginner guide to find what works best for your preferred defensive assignments.
Core Defensive Attributes and Badge Loadout
The attribute allocation for a perimeter lock build prioritizes defensive ratings and lateral quickness over any offensive capability, because your value comes from shutting down the opposition rather than scoring. Interior defense and block ratings matter less for this archetype compared to paint beasts, so allocating attribute points there wastes your limited budget. Instead, push perimeter defense, steals, and lateral quickness to their caps, then distribute remaining points into attributes that support your defensive role such as strength for fighting through screens, stamina to maintain high intensity throughout games, and acceleration for closing out on shooters. This distribution creates a player who can guard multiple positions, navigate picks cleanly, and maintain pressure for entire games without fatigue dropping their effectiveness.
Essential Defensive Badges
The badge system in NBA 2K27 transforms good defenders into absolute nightmares for opposing offenses, and the perimeter lock build benefits disproportionately from defensive badge investments. Clamps serves as your most important badge, dramatically improving your ability to stay attached to ball handlers navigating screens and preventing them from getting clean drives to the basket. Intimidator triggers forced misses from opponents even when you cannot quite get a clean contest, rewarding disciplined positioning with missed shots from frustrated shooters. Pick Dodger proves essential in team game modes where every possession seems to involve a screen designed to free up the opponent's best scorer.
Additional defensive badges worth considering include Interceptor for help defense when passing lanes open up, Ball Stripper for increasing fumble chances when contesting drives, and Pogo Stick for recovering after drives to block shots from players who blow past their initial defender. These supplementary badges enhance your ability to create turnovers without sacrificing the core functionality that makes perimeter locks effective. Building a badge loadout takes time in NBA 2K27, so focus on reaching Gold tier on your must-have badges before spreading upgrades across more niche options.
Playmaking and Specialty Badges for Lockdown Defense
Beyond pure defensive badges, several playmaking badges enhance your ability to create turnovers and disrupt offensive flow. Lightning Bolt provides exceptional first step quickness that keeps you in front of the fastest drives, making it easier to deny penetration and force contested pull-up attempts. Pogo Stick offers recovery blocking ability after you have been beaten on a drive, giving you a second chance to alter or block shots rather than watching helplessly as opponents finish at the rim. Ball Stripper increases the likelihood of forced turnovers when you maintain good defensive positioning, converting your solid defense into easy transition opportunities for your team.
For players pursuing Hall of Fame badge tiers, Glove and Cheste represent the pinnacle of steal-focused badge upgrades, providing maximum fumble chances and additional steal bonuses when making contact with the ball. These elite-tier badges require significant investment but deliver game-changing defensive impact once fully upgraded. Rabbit and Interceptor round out the ideal badge distribution for players who want to excel at reading passing lanes and generating transition opportunities through deflections rather than relying solely on on-ball pressure.
Gameplay Strategies: Executing Lockdown Defense on Guards
Mastering the execution of lockdown defense requires understanding different offensive schemes and having specific responses ready for each situation. Against pick-and-roll heavy offenses, your positioning determines whether you stay attached to your assignment or get freed up for an easy basket. The optimal approach involves positioning yourself one step behind the ball handler initially to bait the drive, then cutting off driving angles and forcing the ball handler away from their preferred scoring zones. When the roller cuts to the basket, you need to sprint to meet them for a block or force a pass to an open teammate, because contesting the shot yourself beats passing up the steal chance for a risky gamble.
Contesting Jumpers and Forcing Misses
Three-point shooting dominates NBA 2K27 meta, making your ability to contest jumpers without fouling absolutely essential for defensive success. The key lies in reading the shooter before they release, positioning yourself for a contest rather than attempting a steal that leaves them open. On catch-and-shoot situations, close out aggressively with hands straight up rather than reaching, because reaching guarantees a foul call while the straight-up contest often forces a miss even against decent shooters. Against pull-up shooters, stay disciplined and do not bite on pump fakes, because every time you leave your feet unnecessarily you create an opportunity for an easy drive or open three.
Isolation Defense and Positioning Fundamentals
Guarding isolation plays requires patience and discipline that separates elite perimeter defenders from average players who constantly get burned by basic moves. The fundamental stance involves staying between your assignment and the basket, moving backward in short diagonal steps rather than lunging forward which gets you beat by the first crossover. When they drive, do not try to strip the ball immediately—instead, stay in position to contest and force a difficult layup rather than gambling for a steal that you will likely miss. If they pull up for a mid-range shot, close the distance immediately with hands up to force a contested look, because perimeter locks excel at making mid-range attempts miserable for even the best shooters.
Perimeter Lock vs. Glass Cleaner: Build Comparison
Understanding how the perimeter lock build stacks up against alternative defensive archetypes helps you make informed decisions when creating your player or choosing team compositions. The glass cleaner build focuses on rebounding and paint protection, excelling at blocking shots and securing defensive boards but sacrificing the perimeter quickness necessary to guard elite guards effectively. Paint beasts similarly prioritize interior defense and finishing at the rim on offense, making them complementary pieces rather than primary defensive stoppers against guard-heavy lineups. The perimeter lock stands alone as the only build archetype specifically designed to neutralize the league's most dangerous ball handlers, and that specialization creates matchup advantages that other defensive builds simply cannot replicate.
Side-by-Side Attribute Comparison
| Attribute Category | Perimeter Lock | Glass Cleaner | Paint Beast |
|---|---|---|---|
| Perimeter Defense | 85-92 | 45-55 | 50-60 |
| Lateral Quickness | 80-88 | 40-50 | 45-55 |
| Steals | 85-95 | 35-45 | 40-50 |
| Block Rating | 30-45 | 80-92 | 85-95 |
| Defensive Rebound | 50-60 | 90-95 | 85-92 |
| Speed | 78-85 | 55-65 | 60-70 |
| Strength | 65-75 | 85-95 | 90-98 |
The attribute distribution clearly shows how each build serves different roles on a basketball team, with the perimeter lock sacrificing interior presence for perimeter dominance that matches modern NBA trends where guards control offensive production. Glass cleaners and paint beasts remain valuable for their rim protection and rebounding, but they need perimeter lock teammates to handle guard-heavy opponents effectively. Building a complementary duo with a perimeter lock and glass cleaner creates a balanced team defense that handles any offensive scheme, which is why this combination appears frequently in successful ProAm and REC lineups.
Takeover Selection and Late-Game Impact
Takeover selection for perimeter lock builds focuses on abilities that enhance your defensive impact rather than boosting offensive production, because your value comes from shutting down opponents rather than scoring. On Ball Pest provides the most direct benefit, dramatically increasing steal chances, contest effectiveness, and forcing turnovers when activated against your primary assignment. This takeover makes you virtually unplayable against, forcing opponents to pass to teammates who may struggle to score against your remaining teammates. Defensive Coordinator offers a team-wide alternative, boosting the entire squad's defensive ratings and helping players who struggle with positioning or contests contribute more effectively.
The timing of your takeover activation matters significantly, because using it during garbage time when the outcome is already decided wastes its potential impact. Save your takeover for critical possessions in close games, particularly when the opposing team's best scorer has been heating up and threatening to take over the game. Activating On Ball Pest at that moment immediately neutralizes their momentum and demonstrates your defensive value to teammates who may have been questioning your build choice. The psychological impact of a perfectly timed takeover can shift entire games, especially in REC mode where momentum swings heavily influence team confidence and communication.
Perimeter Lock Errors: Overcommitting and Wasting Badge Slots
Even with optimal attribute distribution and badge selections, poor execution and decision-making undermine defensive effectiveness against competent opponents. The most frequent mistake involves chasing steals aggressively instead of maintaining solid defensive stance and positioning, because gambling for highlight plays consistently leads to easy drives to the basket. Smart opponents recognize when defenders reach excessively and exploit that aggression by using hesitation moves or passing immediately when you overcommit, converting your failed steal attempt into a four-on-three advantage. Disciplined positioning that forces difficult shots produces more consistent results than high-risk attempts that occasionally generate impressive highlights but more often result in layup lines for opponents.
Another critical error involves fighting through every screen rather than navigating them smoothly, because perimeter offense in NBA 2K27 relies heavily on pick-and-roll actions to free up scorers. Learning to navigate screens while maintaining defensive positioning requires practice but pays dividends against screen-heavy offenses that otherwise free up open shots consistently. Going under screens against shooters who can hit from deep wastes your defensive effort, while fighting over screens against drivers who prefer to drive gives them the separation they need for clean drives to the basket. Reading each screen situation and choosing the appropriate response separates elite perimeter defenders from average players who simply react without thinking through their positioning.
Positioning Errors That Cost Games
| Mistake | Consequence | Correct Approach |
|---|---|---|
| Overcommitting to steal | Easy drives past you | Stay balanced, force contested shots |
| Fighting through screens | Getting beaten on switches | Navigate smoothly, maintain stance |
| Help defense too early | Leaving assignment open | Stay home unless clearly needed |
| Reaching on defense | Easy fouls, no stops | Hands up, contest without fouling |
| Ball watching | Getting beat backdoor | Keep eyes on your assignment |
Finally, many perimeter lock players abandon their assignment unnecessarily to help teammates who do not need assistance, creating defensive rotations that leave open shooters or cutters. Your job is shutting down your specific assignment, and trusting your teammates to handle their own defensive responsibilities creates better team defense overall. Only rotate for help when the situation clearly demands it, such as when a driver has already beaten your teammate and has a clear path to the basket. Helping unnecessarily disrupts the defensive communication that makes team defense effective and often results in easy passes to players you left open while chasing unnecessary help assignments.
Frequently Asked Questions: Perimeter Lock Build Questions
What makes the perimeter lock build different from other defensive archetypes?
The perimeter lock focuses exclusively on shutting down ball handlers and perimeter scorers, featuring superior lateral quickness, steal ratings, and defensive badges that target on-ball pressure. Unlike paint beasts and glass cleaners who protect the rim and crash boards, perimeter locks excel at staying in front of quick guards and forcing turnovers through disciplined positioning rather than raw athleticism.
What are the best defensive badges for a perimeter lock build?
Clamps, Intimidator, and Pick Dodger form the essential core badge setup that every perimeter lock should prioritize reaching Gold tier. Supplement these with Lightning Bolt, Pogo Stick, and Ball Stripper for enhanced playmaking ability that converts solid defense into transition opportunities. For Hall of Fame upgrades, focus on Glove and Cheste for maximum steal potential.
What height works best for a perimeter lock build?
Six foot five represents the sweet spot for most players, balancing guard-level speed with enough height to contest shots effectively. Taller configurations around six foot seven or six foot eight work well for players who guard small forwards and bigger shooting guards, while the six foot four option suits pure point guard chasers who prioritize maximum quickness above all else.
How does wingspan affect perimeter lock performance?
Wingspan directly impacts steal radius, block reach, and contest effectiveness, making it arguably the most important physical attribute for this build. Longer wingspans trade some lateral quickness for significantly improved defensive reach, which proves worthwhile when guarding players who rely on shooting rather than pure speed to create separation.
What game modes benefit most from perimeter lock builds?
REC and ProAm modes showcase the perimeter lock's value most clearly, because dedicated defensive assignments let you lock down the opposition's best scorer throughout games. Park play also rewards lockdown defenders, particularly in team formats where coordinated defense prevents easy baskets and creates transition opportunities for teammates.