
Builds
Complete NBA 2K27 build guides for every position and playstyle — meta builds for Park, REC, and ProAM with optimal attribute spreads, height-weight-wingspan, and takeover choices.
Introduction
Builds are the foundation of your NBA 2K27 experience. Your MyPLAYER build determines your attributes, badge loadout, takeover abilities, and how effective you are on the court. A well-optimized build can dominate at Park, hold its own in REC, and compete at the highest ProAM level, while a poorly planned build wastes VC and hours of grinding. The builds page covers every position from Point Guard to Center, with tier rankings based on competitive performance across all online modes. Each build includes optimal height, weight and wingspan settings, attribute allocation priorities, and the badge combinations that maximize its potential.
NBA 2K27 Build Tier Rankings
| Tier | Build | Position | Best For |
|---|---|---|---|
| S | Meta Point Guard | PG | Park / REC |
| S | 3-Level Scorer | SG | ProAM / REC |
| A | Stretch Big | PF | REC / ProAM |
| A | Perimeter Lock | SG | Park / REC |
| A | Diming Playmaker | PG | REC / ProAM |
| B | Paint Beast | C | REC |
| B | Glass Cleaner | C | REC / ProAM |
| C | Post Scorer | C | Casual |
Build Spotlights
Meta Point Guard
Two-Way Slasher — the most versatile Park and REC build
3-Level Scorer
Elite shooter and creator at SG for ProAM and REC
Stretch Big
Floor-spacing PF/C with 3-point range and rebounding
Perimeter Lock
Defensive specialist at SG for lockdown perimeter defense
Diming Playmaker
Elite passer and facilitator at PG for REC and ProAM
Paint Beast
Inside scoring and rebounding specialist at C for REC
Glass Cleaner
Rebounding machine at C for extra possessions
Athletic Finisher
Explosive slasher at SF for dominant Park drives
Core Mechanics
Build creation in NBA 2K27 starts with choosing a position, then selecting an archetype that determines your attribute caps and badge loadout. Height, weight and wingspan further fine-tune your attributes — taller players get more blocks and rebounds but lose speed and ball handling. Badge points are allocated across four categories (Shooting, Playmaking, Finishing, Defense/Rebounding), and your archetype determines which categories can reach Hall of Fame level. Takeover abilities activate during games when you fill your takeover meter by performing well in your build's strengths.
Advantages
A well-researched build saves hundreds of hours and thousands of VC. Players who follow the meta builds win more games, earn VC faster, and progress their badges more efficiently because their attribute allocation supports their badge goals. The tier list also prevents the common mistake of creating a 'jack of all trades' build that cannot reach Hall of Fame in any badge category — the most effective builds specialize in two to three categories and accept trade-offs elsewhere.
Challenges
Build meta shifts with every patch — attribute caps change, new animations are added, and badge effectiveness gets rebalanced. A build that dominated last month may drop a tier after a shooting nerf or a defensive buff. Also, the optimal build depends heavily on your mode: a Park god might be useless in ProAM, and vice versa. Finally, creating multiple builds requires significant VC investment, so committing to the wrong build early can set you back substantially.
Frequently Asked Questions
What is the best build for beginners in NBA 2K27?+
Should I make multiple builds?+
Does height really matter that much?+
Quick Tips
Always follow the recommended height-weight-wingspan for your archetype — the community has tested thousands of combinations and the recommended settings provide the optimal attribute distribution for reaching Hall of Fame on your core badges.
Invest VC in your primary attributes first, then fill in secondary stats. Wasting VC on attributes that do not support your core badges is the fastest way to gimp your build's competitive potential.
Match your takeover to your mode: offensive takeovers for Park where you need to carry, defensive takeovers for REC and ProAM where team defense matters more than individual scoring.
Featured
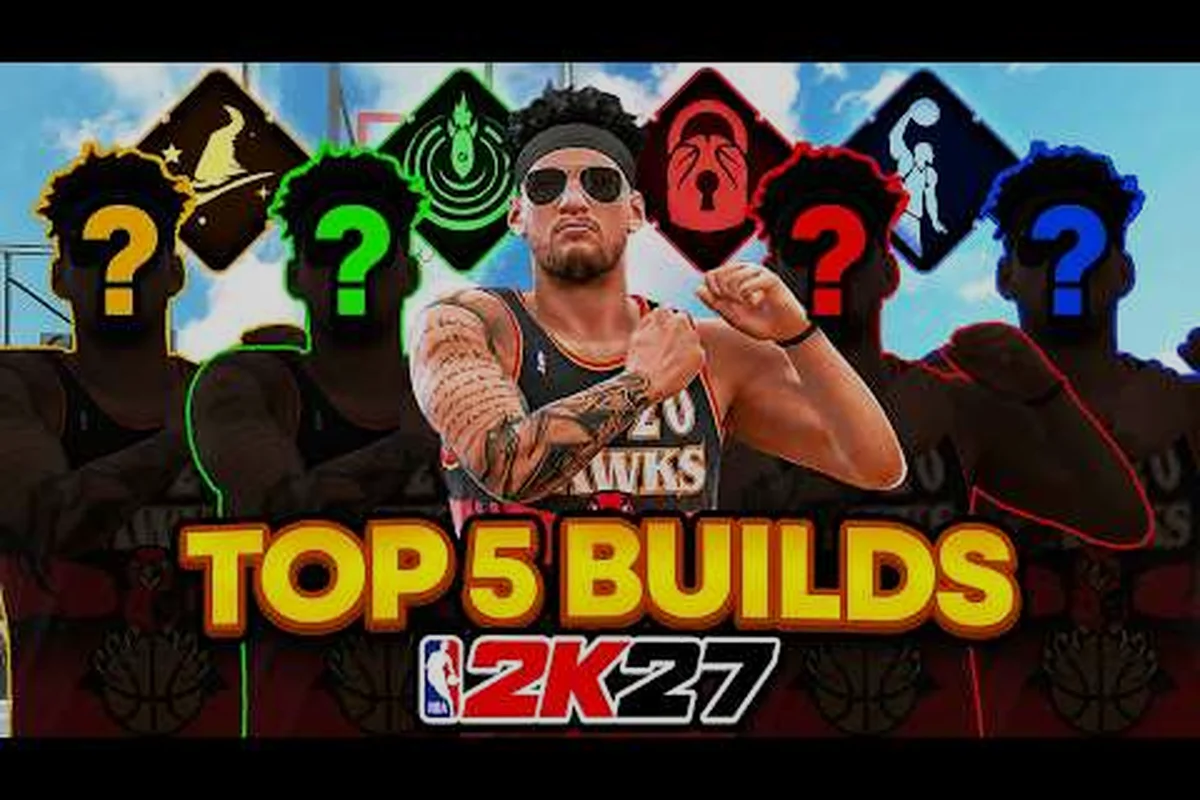
NBA 2K27 best builds: top MyPlayer archetypes ranked
Rank the top NBA 2K27 best builds across all five positions, from point guard to center, with attribute caps, height, and wingspan tips that dominate MyCareer.
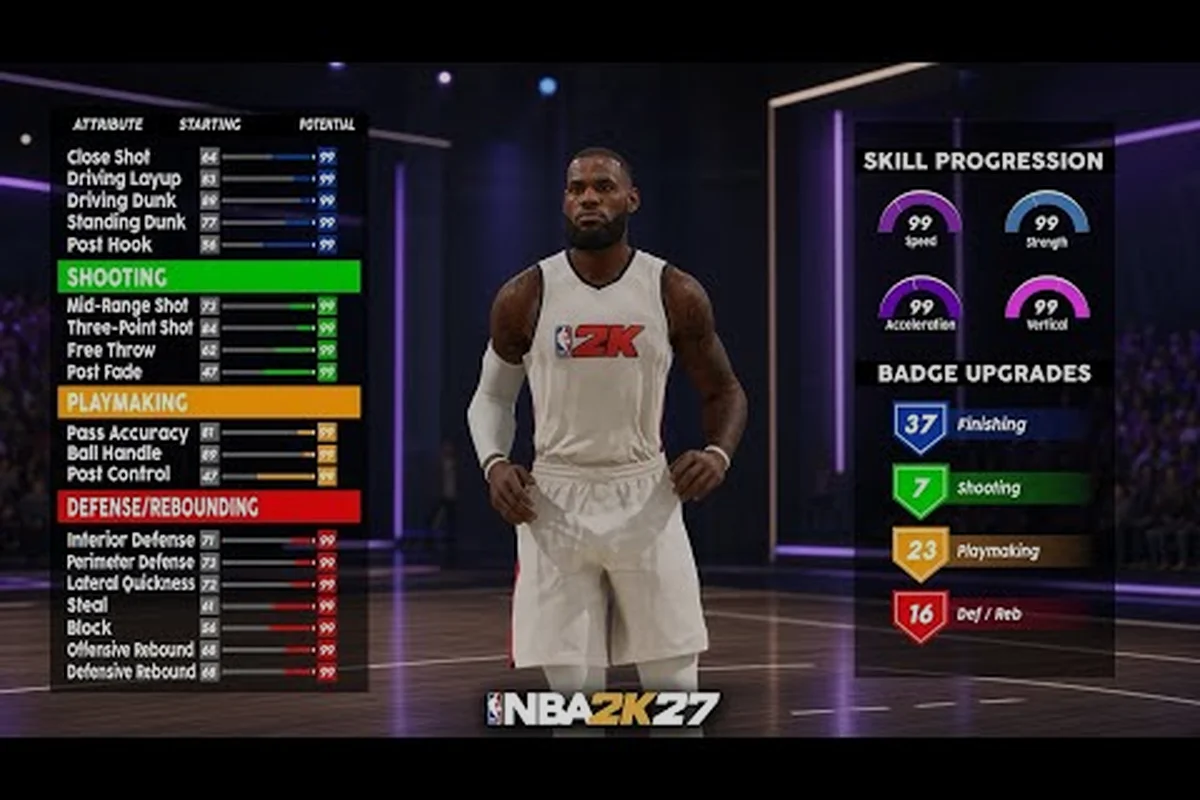
NBA 2K27 best overall build for Park, Rec, and ProAM
Find the NBA 2K27 best overall build blending scoring, playmaking, and defense, with hybrid attribute splits that thrive across every online mode this season.
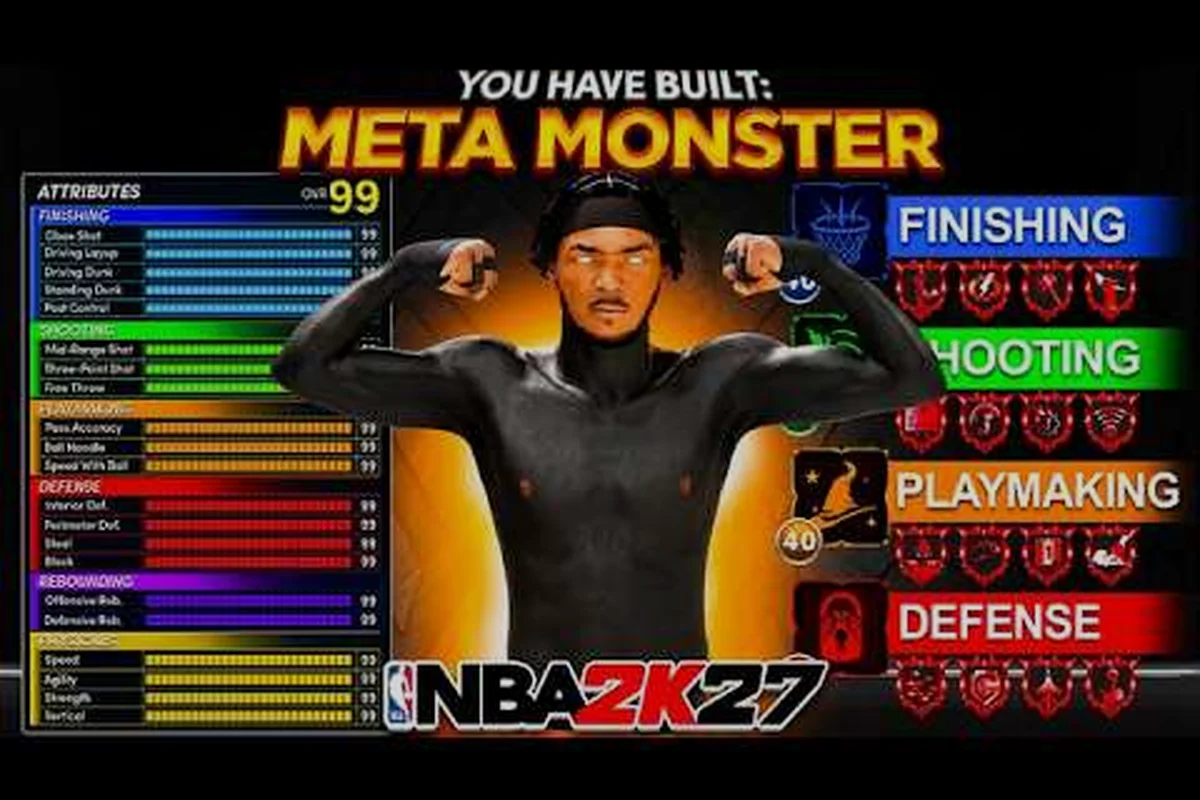
NBA 2K27 best perimeter lock build to shut down guards
Craft the NBA 2K27 best perimeter lock build with the right wingspan, weight, and defensive badges that chase elite guards and contest every jumper.
All Articles
NBA 2K27 build signature styles: top animation tier list
Match NBA 2K27 signature styles to your MyPlayer build with ranked animation packages for shooters, slashers, and defenders that fit the current meta.
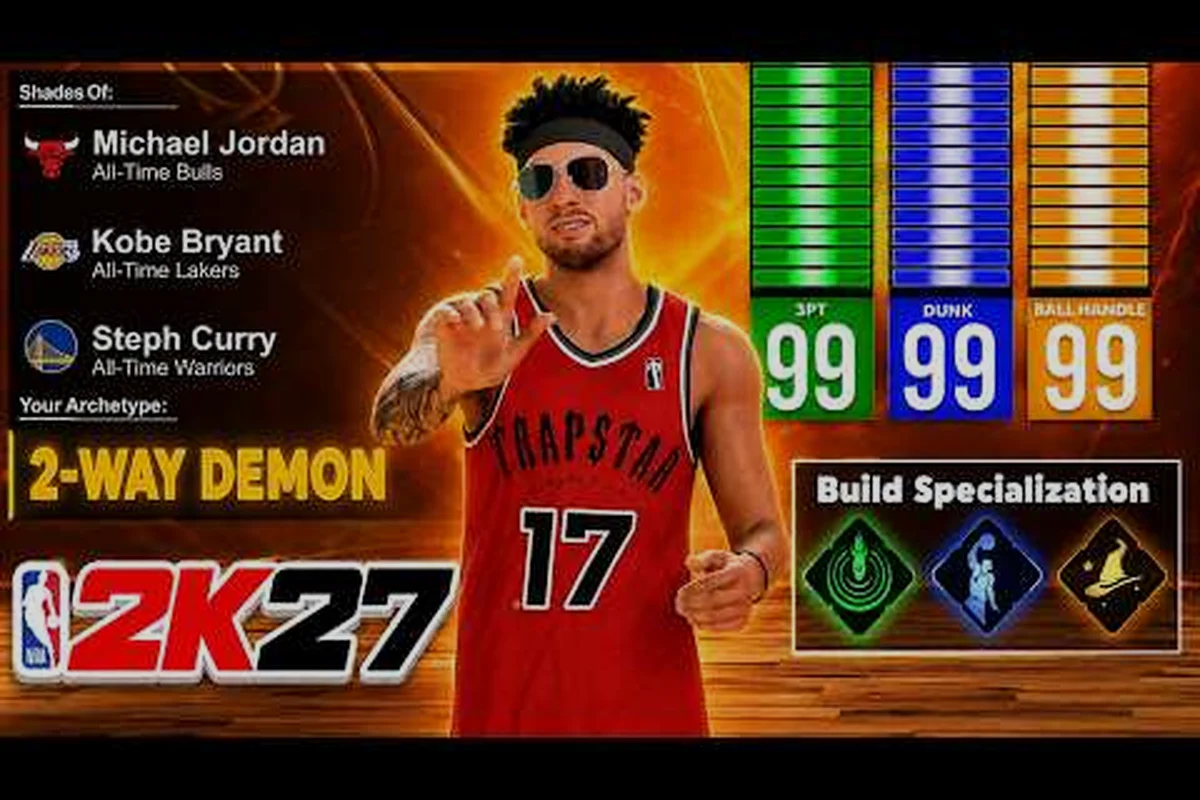
NBA 2K27 best lockdown defender build for lockdown D
Build the NBA 2K27 best lockdown defender build with steals, blocks, and perimeter-stopper badges that shut down shooters and lock the paint all game.
NBA 2K27 build for solo play: patch-proof carry picks ranked
Discover the strongest NBA 2K27 build for solo play that carries without teammates, with ranked tiers, badge breakdowns, and post-patch adjustments.
NBA 2K27 spot up shooter build to green every catch
Dial in the NBA 2K27 spot up shooter build with shooting badges, release speed, and spacing animations that punish drop-offs and drain threes off the catch.
NBA 2K27 build max potential: cap every attribute right
Max out your NBA 2K27 build potential with attribute caps, height-weight combos, and cheap VC strategies that hit Hall of Fame without wasting resources.