
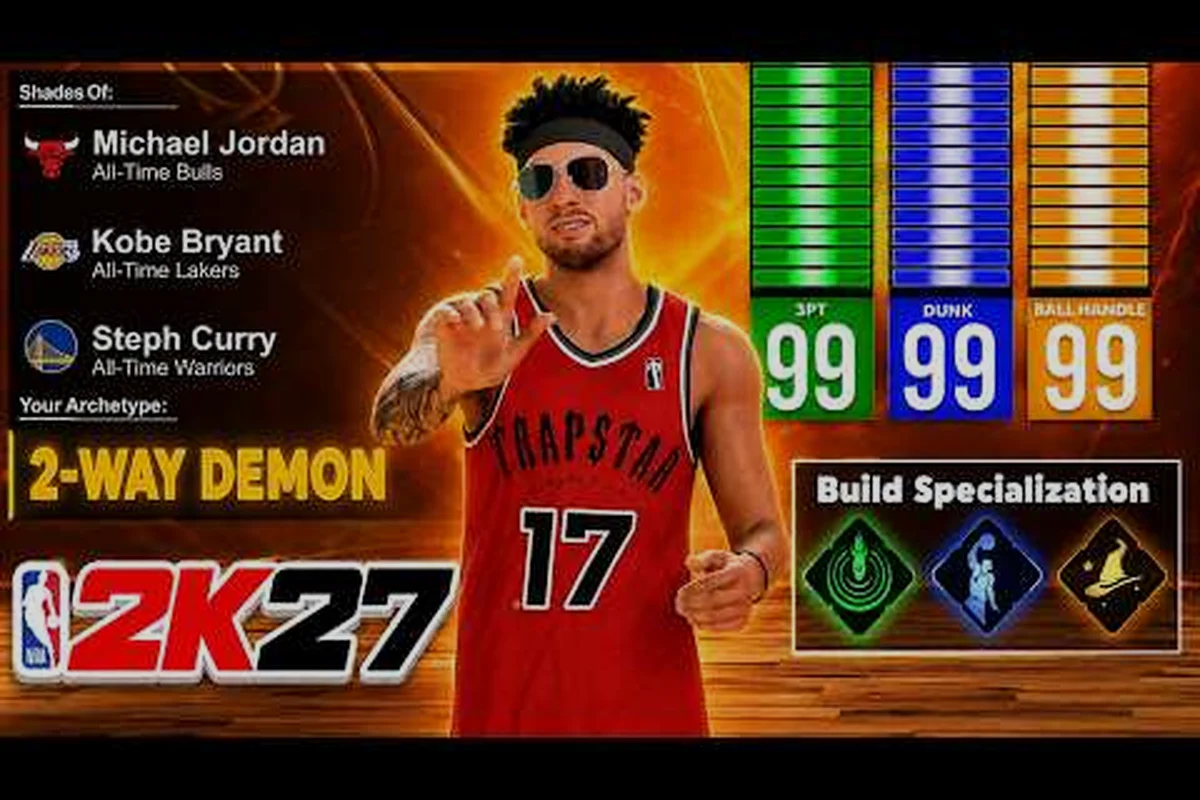
The catch-and-shoot archetype dominates NBA 2K27's competitive landscape because spacing creates downhill drives for teammates while punishing blitzing defenders. When you drain a wide-open three off a teammate's drive, you force opposing coaches to abandon double-teams and revert to drop coverage, which opens the paint for your squad. This guide breaks down every attribute, badge, and animation that separates elite spot-up shooters from average ones in the Park, Rec, and Pro-AM modes.
Core Attributes for the NBA 2K27 Spot Up Shooter Build
Your attribute allocation strategy must prioritize three-point shooting above everything else, with mid-range serving as a secondary threat that keeps defenders honest. The sweet spot for most players sits around 85-90 three-point rating, which grants access to elite badge tiers without sacrificing too much physical profile for lateral quickness. Drive-by shooting gets ignored entirely because this archetype thrives on stationary catches, not pump-fake drives into traffic.
| Attribute Category | Recommended Rating | Notes |
|---|---|---|
| Three-Point Shooting | 88-92 | Core damage output |
| Mid-Range Shot | 70-80 | Pull-up threat |
| Free Throw | 75+ | Clutch time reliability |
| Perimeter Defense | 40-50 | Minimum survivable |
| Acceleration | 60-65 | Floor mobility |
| Vertical | 50-55 | Positioning for boards |
Speed and strength matter less for this build type since you're rarely finishing at the rim or absorbing contact. Prioritize lateral quickness at 50-55 to navigate screens defensively, and maintain a 6'5"-6'8" height range to balance release height against move speed. Taller players enjoy higher shot arcs but struggle to navigate tight spaces against smaller, quicker defenders. The ideal weight sits between 190-210 pounds to maintain animation fluidity without getting bullied off-ball.
Shot timing windows depend heavily on your controller stick mechanics. Players using the Stephen Curry-style one-hand release typically need faster release animations, while two-hand set shots tolerate slightly slower input windows. Your driving layup and standing dunk attributes can drop to 25-30 since you won't attack the basket, freeing those points for additional passing or defensive ratings.
Essential Shooting Badges for Maximum Consistency
Badge selection transforms a decent spot-up shooter into an unguardable floor spacer. The gold and Hall of Fame tiers of key shooting badges determine whether your greens light up the gym or clank off the rim. Focus your badge grind on the following categories, starting with Deadeye as your anchor badge that cuts through contest animations.
Deadeye (Hall of Fame) represents the single most important badge for this build archetype. When defenders close out with their hands up, Deadeye prevents your shot meter from shrinking, allowing greens even on heavily contest attempts. This badge pairs exceptionally well with catch-and-shoot situations where your defender rotates from the paint and arrives late. Without Deadeye at Hall of Fame, you'll struggle to score against aggressive close-out defenders in high-level play.
| Badge Name | Tier | Effect on Spot-Up Shooting |
|---|---|---|
| Deadeye | Hall of Fame | Ignores defender contest timing |
| Catch & Shoot | Hall of Fame | Faster release after receiving pass |
| Range Extender | Gold+ | Three-point range extends to logo |
| Flexible Release | Gold | Shot meter tolerates early/late inputs |
| Tight Spaces | Gold | Shoots through minor contact |
| Clutch Chancer | Silver+ | Boosted shooting in final minutes |
| Hot Start | Silver | Faster meter fill early game |
Catch & Shoot at Hall of Fame provides the instant release that makes defenders fear standing near you during inbound plays. When your point guard throws a skip pass to the corner, you catch and release before the rotating defender's feet land. This timing advantage creates approximately 0.2-0.3 seconds of additional green window compared to base release speeds, which translates to 5-10% higher make rates across hundreds of attempts.
Flexible Release deserves gold or Hall of Fame treatment because game-day pressure causes mistimed inputs. Even elite players release early or late under defensive pressure, and this badge compensates for those inevitable human errors. Hot Start activates during the first few minutes of each game, making your opening possessions especially lethal if opponents underestimate your early shooting.
Release Speed and Animation Selection Guide
NBA 2K27's shooting system rewards specific release animations that complete faster than the average animation pool. Your release selection directly impacts green window timing, and choosing wrong costs you percentage points on every shot attempt. The quickest releases belong to specific jump shot bases that professional players have identified through extensive testing.
The Base: Stephen Curry jump shot delivers one of the fastest set-point timings in the game, making it ideal for catch-and-shoot specialists who need instant release windows. When combined with the Release: Jayson Tatum upper body, you gain approximately 15 milliseconds faster release completion compared to the default animation. That difference sounds negligible until you realize it equals an extra 3-5 percentage points on your make rate over a full game.
For players who prefer two-motion shots, the Base: Kobe Bryant release offers slightly slower timing but greater forgiveness on contested attempts. The higher release point creates natural space between your shot hand and defender hands, which activates the Deadeye and Flexible Release badges more effectively. Many competitive players hybrid these approaches by using Curry bases for corner shooting (where timing matters most) and Kobe bases for above-the-break threes (where contest resistance matters more).
Release speed testing requires actual gameplay hours, not just theory. Visit the practice facility, set a stationary shooter against CPU defenders, and document which releases feel most responsive. Environmental factors like court lighting and arena atmosphere affect perceived release speed, so test on courts you'll actually use during ranked games. The NBA 2K27 official community forums contain extensive animation comparison data from dedicated streamers who've tested hundreds of combinations.
Court Spacing and Positioning Mechanics
Effective spot-up shooting in NBA 2K27 demands constant movement even when you hold no ball. Standing stationary in the corner signals to smart defenders that you're camping, which prompts aggressive close-outs that eliminate your release window. Instead, practice diagonal cuts toward the nail (mid-lane area) that force your defender to navigate screens while maintaining sight lines to the ball handler.
The "in-and-out" spacing technique works exceptionally well against drop coverage. When your defender sinks toward the paint anticipating a drive, take one hard dribble toward the three-point line, then immediately cut back toward the basket before the defender recovers. This creates a split-second advantage where you're open while your defender is still backpedaling. Your point guard reads this movement and hits you with a pocket pass at the perfect moment.
Corner positioning offers the highest percentage shots because baseline defenders have less room to contest without fouling. However, corner three attempts decrease your mid-range shooting percentage since you're further from the basket for offensive rebounds. Balance your positioning by spending approximately 60% of possessions in corner spots and 40% floating toward the wings or top of the key. This distribution keeps defenses honest and prevents defenders from camping the paint against your driving teammates.
Screen navigation determines whether you receive passes cleanly or get bumped into oblivion. Requesting screens from your center or power forward dramatically improves your catch opportunities, especially when defenders attempt to chase you through multiple picks. Ice coverage (defenders letting you go under screens) represents your ideal defensive matchup, as it grants unlimited open looks from three-point range without requiring perfect timing.
Takeover Selection for Spot-Up Shooter Builds
NBA 2K27's takeover system offers build-specific abilities that amplify your strengths during clutch moments. For spot-up shooters, Shooting Takeover provides the most direct damage boost, granting automatic perfect releases on catch-and-shoot attempts for the duration of the activation. This takeover transforms you into a guaranteed points machine if your teammates can find you with entry passes.
| Takeover Type | Effect | Activation Recommendation |
|---|---|---|
| Shooting Takeover | Auto-greens on catch attempts | Primary choice for pure shooters |
| PnR Maestro | Enhanced pick-and-roll passing | Alternative for playmaking builds |
| Prime Time | Boosted finishing + shooting | Hybrid scorers only |
| Defensive Anchor | Contested shot reduction | Only for defensive specialists |
When teammates drive and collapse the defense, activating Shooting Takeover mid-possession ensures that skip passes and kick-outs convert at extremely high rates. The auto-green mechanic eliminates user timing variance, making your shot percentage approach 90% on uncontested attempts during takeover duration. Many players waste this takeover by activating it too early before the defense commits to the paint.
Pairing Shooting Takeover with Catch & Shoot and Deadeye badges at Hall of Fame creates a multiplicative effect that punishes opponents for any defensive mistake. A single possession with these mechanics active can swing momentum dramatically, especially during the fourth quarter when clutch performances matter most. Consider saving takeover activation for situations where you've identified a clear defensive mismatch or when your squad needs a momentum-building bucket.
Complement your offensive takeover with Floor General takeover if you're playing point guard or combo guard positions, as this ability boosts teammate attributes and unlocks additional passing lanes. Even without Floor General takeover, a 70-80 passing rating allows you to make the extra passes that keep defenses rotating and create the open shots your build specializes in converting.
Build Comparison: Spot-Up Shooter vs Alternative Archetypes
Understanding how the spot-up shooter compares to related builds helps you optimize your role within squad compositions. Different archetypes create different spacing dynamics, and choosing the right build depends on your playstyle preferences and teammates' selections. The floor general build prioritizes passing over scoring, while the 3-level scorer sacrifices pure shooting consistency for mid-range versatility.
| Build Type | Three-Point Rating | Versatility | Badge Requirements | Best Playstyle |
|---|---|---|---|---|
| Spot-Up Shooter | 92-95 | Low | 8-10 shooting badges | Off-ball spacing |
| 3-Level Scorer | 82-88 | High | 12+ mixed badges | Pull-up versatility |
| Floor General | 65-75 | Medium | 6-8 passing badges | PnR orchestrator |
| Athletic Finisher | 45-55 | None | 4-6 finishing badges | Slash and dunk |
The 3-level scorer build trades shooting consistency for the ability to score from anywhere on the court. Players who enjoy pump-faking and attacking close-outs benefit more from this hybrid archetype, while pure spot-up specialists should stick with the dedicated shooting build. Mid-range shooting opens up additional offensive options but dilutes your three-point percentage if you spend too many possessions hunting mid-range jumpers.
The anchor build archetype focuses on defensive presence and interior protection, creating an entirely different court dynamic compared to your shooting build. When paired with an anchor, your spot-up shooter enjoys guaranteed paint drives from teammates who trust the interior defender to grab boards. This synergy makes the spot-up shooter plus anchor combination one of the most effective two-player pairings in Rec and Pro-AM modes. You can explore anchor-specific attribute breakdowns in our best lockdown defender build guide which covers similar defensive positioning concepts.
Advanced Tips: Reading Defensive Schemes and Adjusting
Elite spot-up shooters in NBA 2K27 read defensive rotations before they happen and adjust positioning accordingly. When your defender cheats toward the paint to help on a drive, recognize that you'll receive a skip pass and begin your release motion immediately. Anticipatory shooting separates 60% shooters from 70%+ shooters because it eliminates the reaction time that delays your release.
Ice coverage (defender going under screens) signals that you should catch and shoot without hesitation, while up-and-under coverage (defender going over screens) requires you to dribble into a pull-up or reset. Hard hedges and traps on pick-and-rolls create temporary open shots for shooters, but your ball-handler must make quick decisions to exploit these aggressive defensive schemes before they recover.
In 2-3 zone defenses, find the soft spots between defenders where passes arrive with minimal contest. The high post and wings typically expose gaps in zone rotations, making these positions ideal for your catch-and-shoot opportunities. Zone defenses prey on shooters who stand static, so constant movement through passing lanes keeps defenders uncomfortable and prevents them from settling into optimal positions.
Transition shooting offers additional scoring opportunities when defenders are still retreating up the court. Catching outlet passes in early offense and releasing before defenders establish set position yields high-percentage looks because transition defense rarely executes perfect close-outs. Your acceleration rating determines whether you can leak out ahead of defenders for easy catch-and-run three-point attempts.
Frequently Asked Questions: NBA 2K27 Spot Up Shooter Build
What is the best height and weight for a spot-up shooter build in NBA 2K27?
The optimal height range sits between 6'5" and 6'8", with weight around 195-210 pounds. Taller builds (6'10"+) gain release height advantages but sacrifice lateral quickness needed for defensive navigation. Heavier builds (220+) absorb contact better but move slower through screens. The 6'6" point guard height offers the best balance for players planning to run point guard responsibilities alongside shooting duties.
How many badge slots should I dedicate to shooting badges versus defensive or playmaking badges?
Allocate 8-10 badges to shooting (Deadeye, Catch & Shoot, Range Extender, Flexible Release, Tight Spaces, Clutch Chancer, Hot Start, Blinders) and reserve remaining slots for 2-4 defensive or utility badges. Your primary defensive badge should be Clamps or Pick Dodger to prevent getting targeted on the other end. Avoid spreading badges thin across categories—concentrated badge investment outperforms jack-of-all-trades distributions.
Which jump shot base and release combination produces the fastest shooting animation?
Base: Stephen Curry combined with Release: Jayson Tatum delivers the fastest overall shooting animation in NBA 2K27. For players preferring two-motion shots, Base: Kobe Bryant with Release: Kobe Bryant provides slightly slower but more contest-resistant releases. Test multiple combinations in practice mode before committing, as release feel varies based on individual timing preferences and controller stick mechanics.
How do I maximize VC gains while leveling up a spot-up shooter build?
Focus on Reputation events during gameplay rather than grinding boring practice drills. Park games with high attendance multipliers and Rec center wins yield the best Rep-per-hour ratios. During early leveling, prioritize completing the "Catch and Make" bonus objectives that award 15-20% additional VC. Playing with a full squad in Pro-AM maximizes your VC earning potential through team synergy bonuses.
What defensive schemes work best when playing with a spot-up shooter build?
Employ ice coverage on the ball handler to force them toward sideline pickups, which funnels drives into your anchor teammate's defensive help. When guarding off-ball, attempt to body up shooters at三分线 to prevent easy catches, and use Pick Dodger to navigate screens without losing your assignment. Communication with your anchor teammate prevents defensive breakdowns that expose your limited perimeter defense ratings.