
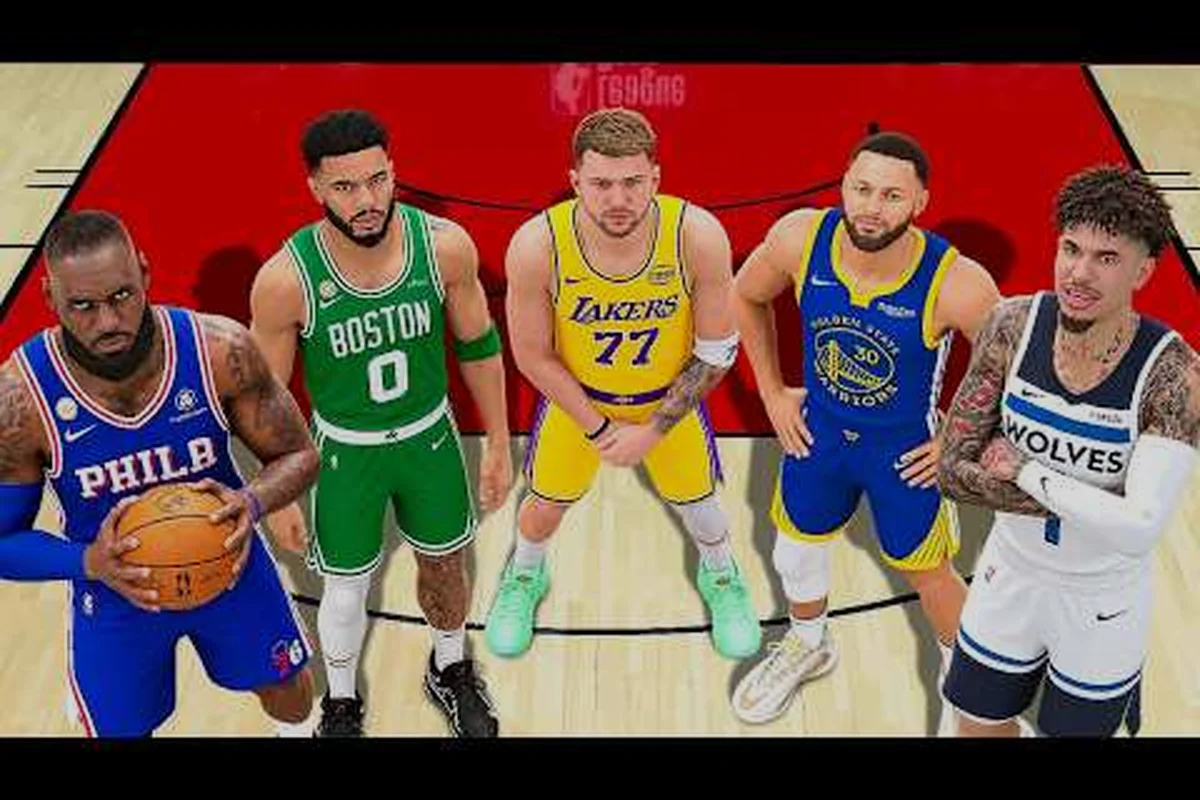
The NBA 2K27 takeover system represents one of the most impactful mechanics shaping competitive outcomes, yet countless players leave free stat boosts on the table by misunderstanding how activation truly works. When you fill your hot zone bar through sustained performance, your player transforms into a near-unstoppable force with boosted attributes, unique animations, and dramatically increased success rates across all actions. This NBA 2K27 takeover system guide breaks down every trigger condition, hot zone fill rate, chain boost timing, and control preference so you can consistently weaponize your takeover against opponents in crucial moments.
Understanding the takeover system fully means recognizing how it interacts with your build's strengths, your shot meter calibration, and your choice between pro stick and traditional button controls. Players who master these interactions gain a measurable advantage, turning close fourth-quarter situations into dominant performances that opponents simply cannot counter. The difference between a player who occasionally triggers takeover and one who activates it deliberately three or four times per game comes down to knowledge and execution. Putting this knowledge into practice means mastering the precise moments to trigger takeover, a skill explored in our Shot Timing Guide that details optimal windows for each move. The takeover meter fills through in-game actions and triggers a boost once it reaches 100%.
What Is the NBA 2K27 Takeover System
The takeover system in NBA 2K27 functions as a temporary transformation mechanic that activates when your hot zone meter reaches full capacity. Your hot zone meter fills based on the specific actions aligned with your player build's primary abilities, meaning a sharpshooter gains hot zone progress primarily through made shots while a paint beast accumulates progress through dunks, blocks, and contested rebounds. The bar does not fill passively or through generic actions, which is why understanding your build's optimal hot zone triggers becomes essential for consistent activation.
Once activated, takeover grants a substantial boost to your core attributes alongside access to enhanced animations and unique ability modifiers that vary by takeover type. Your speed, acceleration, strength, and skill-specific attributes receive numerical increases that compound with your existing attribute ratings, pushing already-elite builds into nearly unbeatable territory. The duration typically spans thirty to forty-five seconds depending on game mode and settings, with the meter gradually depleting throughout the activation period.
The system distinguishes between full takeover and chain boosts, where full takeover represents complete bar activation and chain boosts refer to maintaining the effect through continuous successful actions. Chain boosting allows skilled players to extend their takeover duration significantly beyond the base timer, effectively turning a single dominant stretch into a multi-possession performance that completely shifts game momentum. This mechanic rewards players who understand which actions maintain and amplify their hot zone during the takeover window.
Your choice of takeover type determines the specific bonuses received, with each of the eight available takeover categories providing distinct advantages tailored to different playstyles and build configurations. Selecting the optimal takeover type before games or understanding which automatic takeover your build triggers during specific animations ensures you maximize the benefit of every activation.
Takeover Activation: Triggers and Hot Zone Filling
NBA 2K27 takeover activation depends entirely on your hot zone bar reaching 100% capacity through build-specific actions. The filling process begins the moment you enter a game, with the meter accumulating progress based on successful plays aligned with your selected build archetype. A shot creator gains hot zone progress from mid-range makes, post moves, and step-back jumpers, while a pure sharp accumulates fill primarily through three-point shots regardless of contest level or distance from the basket.
The rate of hot zone filling varies significantly based on the difficulty and consistency of your actions, with higher-risk plays typically rewarding faster progress. A contested three-pointer in traffic fills the meter more rapidly than an open look from the same distance, encouraging aggressive play rather than passive ball movement. Community reports from competitive players suggest that signature shot animations during takeover grant approximately 8-12% hot zone fill per successful attempt, while standard shots provide roughly 4-6% depending on difficulty rating and defensive pressure.
Hot Zone Fills by Action Type
| Action Category | Hot Zone Fill Rate | Risk Level | Best For |
|---|---|---|---|
| Contested Three-Pointers | 8-12% per make | High | Sharpshooters, Shot Creators |
| Open Three-Pointers | 4-6% per make | Low | Pure Sharps, Playmakers |
| Dunk Packages | 10-15% per attempt | Medium-High | Slashers, Paint Beasts |
| Post Moves | 7-10% per make | Medium | Bigs, Post Scorers |
| Steals and Blocks | 6-9% per play | Medium | Lockdowns, Glass Cleaners |
| Assists | 3-5% per dime | Low | Playmakers, Facilitators |
Timing your hot zone fills strategically becomes particularly important in clutch situations, where triggering takeover at the right moment can determine victory or defeat. Many players make the mistake of triggering takeover too early in a quarter, wasting valuable boost time when the game outcome remains relatively unimportant. Instead, experienced players bank their hot zone progress and activate deliberately when the scoreboard pressure intensifies or when defensive schemes force them into high-difficulty situations.
The NBA 2K27 hot zone guide emphasizes that fill rate modifiers exist based on your attribute ratings, meaning a 99 three-point rating fills the hot zone faster from shooting actions than an 85 rating would. These modifiers scale non-linearly, with dramatic differences appearing between 80-rated and 95-rated attributes. Building your character with high ratings in your primary hot zone action categories accelerates activation frequency considerably.
Takeover Types and Optimal Builds
NBA 2K27 offers eight distinct takeover types, each providing specialized bonuses that amplify specific playstyles and build archetypes. The system automatically selects your takeover type based on your primary build classification, though some builds offer limited choices between related takeover categories. Understanding which takeover complements your build strategy ensures you receive maximum benefit from every activation, particularly during critical late-game sequences when possession value reaches its peak.
Shooting takeover represents the most popular selection among competitive players, providing dramatically increased shot success rates, expanded green windows on your jumpshot, and access to signature shooting animations that bypass normal timing requirements. For builds centered on perimeter scoring, activating shooting takeover transforms contested looks into high-percentage attempts, allowing aggressive shot creation even against tight defensive coverage. The hot zone bar for shooting builds fills primarily through made shots, with three-pointers and mid-range jumpers contributing at different rates based on difficulty and defensive pressure.
Playmaking takeover benefits ball handlers and facilitators by granting enhanced passing accuracy, reduced turnovers, increased speed with ball, and unique assists that trigger after specific passing sequences. Playmakers activating their takeover become particularly dangerous in transition, where their upgraded court vision and passing animations create easy scoring opportunities for teammates who position themselves correctly. This takeover type excels in team-based gameplay where coordinated offense produces better results than isolation-heavy approaches.
Takeover Type Comparison by Build
| Takeover Type | Primary Buff | Secondary Buff | Ideal Build | Activation Ease |
|---|---|---|---|---|
| Shooting | +15% Green Window | +10 Speed/Move Speed | Sharpshooter, Shot Creator | Moderate |
| Playmaking | +20 Pass Accuracy | +8 Speed with Ball | Point Guard, Playmaker | Easy |
| Finishing | +25 Layup/Dunk | +12 Strength | Slasher, Paint Beast | Easy |
| Defense | +15 Steal/Block | +12 Lateral Quickness | Lockdown, Perimeter Lock | Moderate |
| Rebounding | +20 Rebound Rating | +15 Boxout | Glass Cleaner, Big | Moderate |
| Post Scorer | +20 Post Moves | +12 Strength | Post Scorer, Big | Easy |
| Slashing | +18 Driving Layup | +10 Ball Handle | Slasher, Shot Creator | Easy |
| Power | +15 Contact Dunks | +15 Strength | Paint Beast, Glass Cleaner | Easy |
The NBA 2K27 best takeover for each build analysis reveals that certain archetypes benefit disproportionately from their automatic takeover selection, while others require careful consideration of playstyle alignment. Slashers and paint-focused builds generally activate their takeover more easily because dunks, layups, and post moves occur frequently throughout games, while pure shooters sometimes struggle to reach full hot zone capacity against aggressive defensive schemes that limit clean shot opportunities.
For perimeter lock builds specifically, defense takeover provides the most consistent benefit, granting enhanced steal chance, faster lateral movement for staying in front of ball handlers, and increased block ratings for contesting jumpers. However, some lockdown players prefer selecting slashing or finishing takeover types to maintain offensive relevance during their takeover windows, trading pure defensive dominance for two-way effectiveness.
Shot Meter Settings for Takeover Timing
Optimizing your shot meter settings represents one of the most impactful adjustments you can make for maximizing takeover effectiveness, particularly during the extended green windows that firing jumpshots within takeover provides. The shot meter controls how the release timing feedback appears on your screen, with different meter styles and timing windows dramatically affecting your ability to green shots consistently when your takeover is active.
The hot start shot meter setting has emerged as the community-preferred configuration for players focused on maximizing their shooting takeover potential. This setting delays the meter appearance until your player reaches the peak of their jump, reducing visual clutter and providing a cleaner timing window that aligns with the expanded green window granted during takeover activation. Players using hot start report significantly higher green percentages during takeover sequences compared to standard meter configurations.
Alternatively, the pulse meter option offers a different approach, using a pulsing indicator that expands and contracts to signal optimal release timing. During takeover, the pulse rhythm becomes more forgiving and the timing window expands noticeably, making pulse meter users report easier green releases on difficult shots. However, some players find the pulse mechanic less intuitive than traditional meters, creating a personal preference element to this decision.
Recommended Shot Meter Settings by Takeover Type
| Setting | Best For | Takeover Bonus | Difficulty | Adjustment Time |
|---|---|---|---|---|
| Hot Start | Spot-Up Shooters | Largest Green Window | Moderate | Short |
| Pulse | All-Around Shooters | Most Forgiving Timing | Easy | Moderate |
| Classic | Traditional Players | Standard Timing Boost | Medium | Long |
| Modern | Fast Release Shots | Quicker Green Window | Medium | Moderate |
The NBA 2K27 shot meter settings page in the official options menu provides additional fine-tuning controls including meter size, meter opacity, and shot feedback toggles that further customize your visual experience. Increasing meter size to 110-120% helps players with slower reaction times catch timing windows more reliably, while reducing opacity to 70-80% prevents the meter from distracting attention from defensive read responsibilities.
Shot feedback settings deserve particular attention during takeover sequences, as the visual and audio cues indicating successful green releases directly impact your confidence in pulling difficult shots. Setting feedback to "detailed" provides the most information about shot quality, including timing deviation measurements that help you identify whether your release window sits early, late, or perfectly centered. This data proves invaluable for making micro-adjustments to your timing during takeover windows.
Shot Stick vs Button Controls During Takeover
The debate between shot stick and traditional button controls takes on heightened importance during takeover sequences, where the expanded green windows and attribute boosts create different optimal strategies depending on your input method. Understanding the strengths and weaknesses of each approach ensures you select the control scheme that maximizes your takeover effectiveness based on your playstyle and skill level.
Shot stick shooting uses the right analog stick to initiate jump shots by flicking in a specific direction corresponding to your preferred jumpshot release point. During takeover, the pro stick's directional input interacts with the expanded green window differently than button shooting, with slight directional adjustments allowing you to access signature shots and difficult releases more reliably. The pro stick's muscle memory development takes longer than button shooting but rewards dedicated players with more expressive shot creation options.
Shot stick controls during takeover provide unique advantages for shot creators and players who rely on step-back jumpers, curl animations, and hesitation releases. The directional input allows you to trigger specific shot animations that blend seamlessly with the takeover bonus, creating scoring opportunities that simply cannot be replicated with button inputs. Community discussions on competitive forums frequently highlight the pro stick as the superior choice for players seeking maximum creativity during their takeover windows.
Button shooting using the standard X or A button provides more straightforward timing mechanics that some players find easier to execute consistently under pressure. The visual feedback from your shot meter appears more directly related to your release timing when using buttons, making the connection between input and output more immediately understandable for newer players. During takeover, button shooters benefit from the same green window expansion but may sacrifice access to certain signature animations that require pro stick input.
Control Method Comparison
| Factor | Shot Stick | Button Shooting |
|---|---|---|
| Green Window Size | Same during takeover | Same during takeover |
| Animation Access | Full signature moves | Limited animation set |
| Learning Curve | Steep (2-4 weeks) | Gentle (3-5 days) |
| Shot Creation | Advanced moves available | Basic moves only |
| Consistency | High when mastered | Very high for beginners |
| Takeover Synergy | Optimal for shot creators | Optimal for spot-up shooters |
The NBA 2K27 pro stick controls guide recommends that players experiment with both input methods during practice mode before committing to a single approach, as the optimal choice depends heavily on individual preferences and playstyle priorities. Many competitive players maintain proficiency with both control schemes, switching between them based on specific game situations and opponent tendencies.
Pro Stick Controls: Fine-Tuning for Takeover Performance
Mastering pro stick controls during takeover activation requires understanding how directional inputs interact with the game's animation system and timing windows. The right analog stick serves multiple functions beyond basic shooting, including shot fakes, pump fakes, and signature move triggers that become significantly more effective during the attribute boosts granted by takeover. Developing fluency with these advanced inputs elevates your offensive ceiling considerably.
The flick-up technique represents the foundation of pro stick shooting, involving a quick upward motion on the right stick to initiate jump shots with optimal release timing. During takeover, the green window expansion means that even slightly imperfect flick-ups can result in successful makes, allowing players to focus more attention on defensive reads and shot selection rather than perfect timing execution. This psychological relief frequently results in higher quality shot selection during takeover windows.
Directional pro stick inputs unlock specific shot animations based on the flick direction, with up typically triggering your primary jumpshot, diagonal directions accessing step-back and fade-away variants, and down initiating hop shots or crouch shots. The NBA 2K27 pro stick controls guide emphasizes that each jumpshot in your custom configuration has unique timing windows and visual cues, requiring separate practice for each release point you plan to use during competitive play.
Maintaining consistency between your regular shooting mechanics and your takeover shooting mechanics prevents the frustrating experience of making shots without takeover but struggling during your boost window. Practice sessions should include deliberate takeover simulation, where you artificially imagine the expanded green window and adjust your release timing accordingly. This mental preparation transfers directly to live games, ensuring your muscle memory adapts smoothly when takeover finally triggers.
For players transitioning from button to pro stick controls, the takeover window provides an excellent training ground because the forgiving timing allows successful makes even during the adjustment period. Rather than viewing takeover as a reward for already-mastered skills, treat it as a development opportunity where you can experiment with new techniques without the full consequences of mistimed releases. Many players report their most significant control improvements occurring precisely during takeover sequences.
Frequently Asked Questions
How do I fill my hot zone faster in NBA 2K27?
Focus on high-risk, high-reward actions aligned with your build archetype. Contested shots, contact dunks, and blocked shots fill your hot zone significantly faster than open looks or safe passes. Playing aggressively rather than passively accelerates takeover activation, with most players triggering their first takeover between the 4 and 6 minute mark of the first quarter when executing optimally.
Can I extend my takeover duration beyond the base timer?
Yes, through chain boosting. Successfully executing actions during your active takeover—making shots, getting stops, grabbing rebounds—replenishes portions of your hot zone bar, extending the boost duration. Skilled players regularly maintain takeover for over a minute through consistent chain boosting, dramatically outlasting opponents who waste their boost on single possessions.
Which takeover type is best for a two-way player build?
For two-way builds that combine offensive and defensive capabilities, shooting or playmaking takeover typically provides the most balanced benefit. Defense takeover sacrifices offensive production for elite defensive stops, while shooting takeover enhances your scoring without improving your defensive impact. The optimal choice depends on whether your current game situation requires more scoring or more defensive stops.
Do hot zones reset between quarters in NBA 2K27?
No, your hot zone progress persists throughout the game unless you activate takeover. Once you trigger takeover, the bar empties completely and begins refilling from zero. Between quarters without activation, your accumulated progress remains intact, allowing you to save hot zone fills deliberately for critical moments in later quarters.
How does shot meter affect green releases during takeover?
The green window expands significantly during takeover, making timing more forgiving regardless of meter settings. However, the hot start meter provides the largest visual green window, while pulse meters offer the most intuitive timing feedback. Experiment with different settings during practice to find the configuration that produces your highest green percentages when your takeover activates.